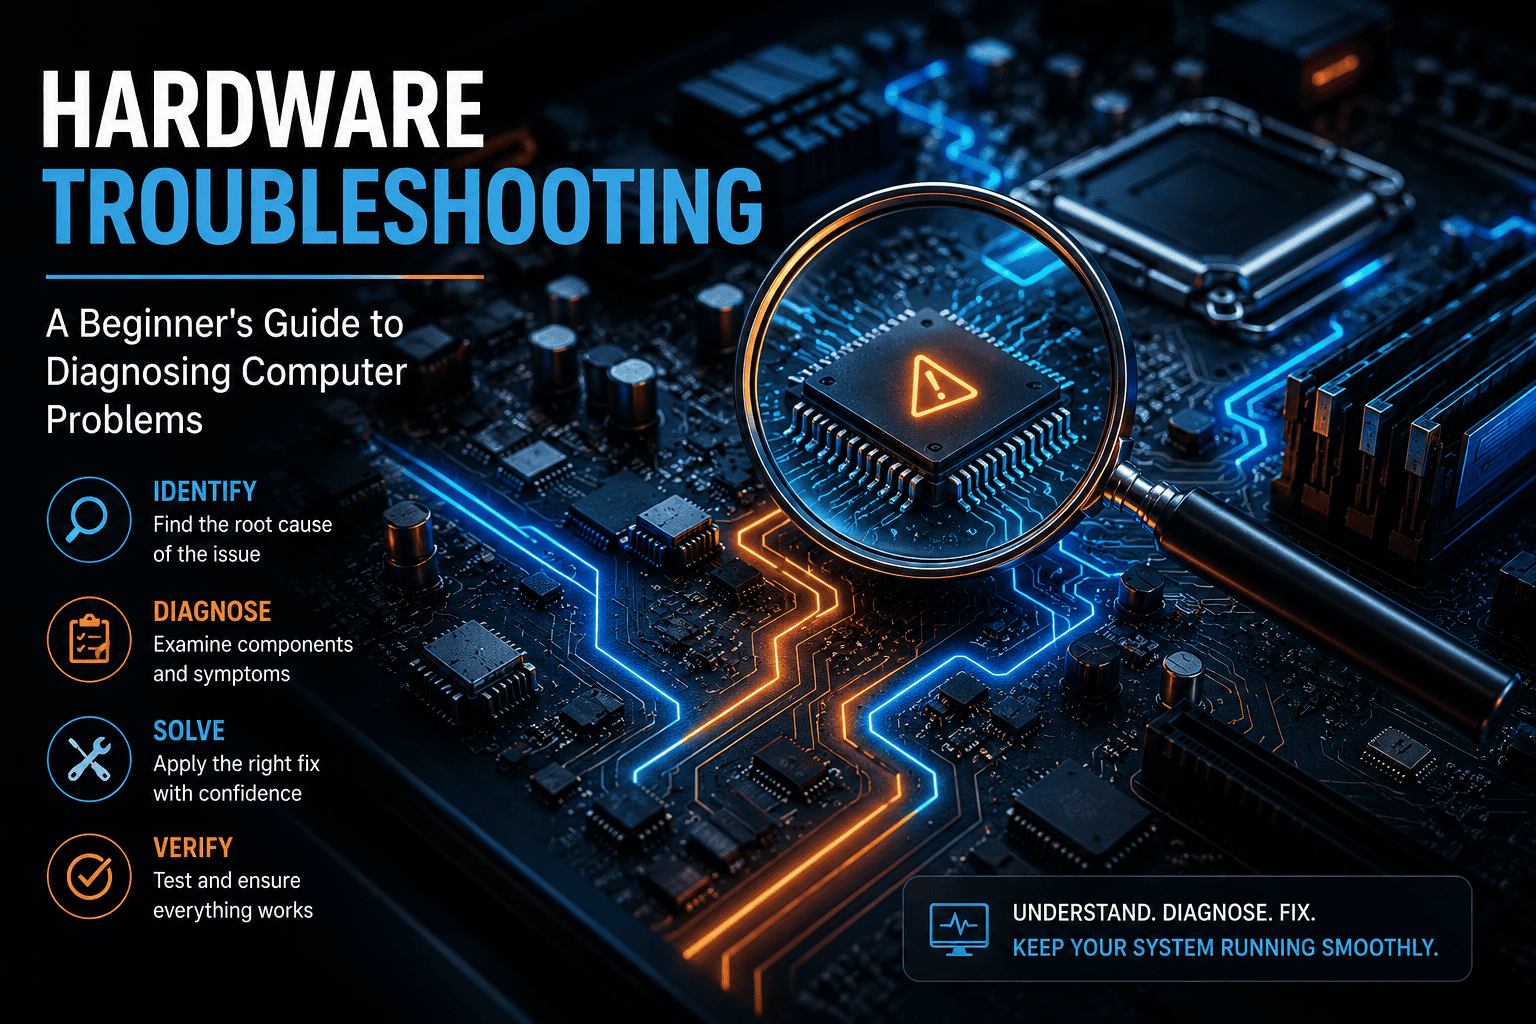
Diagnosing computer hardware issues can be challenging due to the fact that one symptom has several possible explanations. For example, a computer that gets slow out of the blue may be having a problem with the storage, memory, ventilation, or software. A computer that starts up but does not display anything may be faced with some RAM, video card, cable, monitor, or motherboard issues.
Hardware troubleshooting implies locating the part that is the glitch, using some tests to check the possible variants, and finding out whether the solution is correct before replacing some spare parts.
This manual will introduce the common situations in computer hardware troubleshooting, including no-power issues, random access memory problems, overheating glitches, storage issues, no-display problems, USB devices, unexpected reboots, noise, and other problems.
Be safe: Switch off and unplug the desktop computer. Never tamper with a power supply unit (PSU) and stop the investigation in case you get a burning smell, see smoke, spill liquid, etc.
Quick Hardware Troubleshooting Checklist
If you are not sure where to begin, start with these basic checks before replacing any component:
- Check whether the computer receives power.
- Disconnect unnecessary USB devices and external peripherals.
- Check power, display, USB, and other external cables.
- Note exactly what happens when you press the power button.
- Look for unusual sounds, lights, heat, smells, or diagnostic indicators.
- Test one component or connection at a time.
- Use a known-working cable, monitor, keyboard, mouse, or compatible component when available.
- Check RAM, cooling, storage, and display components if the basic checks do not solve the problem.
- Use appropriate built-in diagnostics or hardware-monitoring tools when available.
- Get professional help if the problem involves electrical damage or a repair you cannot safely perform.
What Is Hardware Troubleshooting?
Hardware troubleshooting focuses on the physical components of a computer. These can include:
- RAM
- CPU
- GPU
- Motherboard
- Power supply
- SSD or HDD
- Monitor
- Keyboard and mouse
- USB ports
- Cooling fans
- Power and data cables
The basic process is simple:
Identify the symptom → check simple causes → isolate the component → test with a known-good part → confirm the repair.
This approach is more reliable than randomly replacing expensive components because several different hardware or software problems can produce similar symptoms.
Hardware Troubleshooting vs. Software Troubleshooting
Hardware troubleshooting is associated with physical parts like RAM, storage, power supplies, screens, graphics cards, and wires. On the other hand, software troubleshooting is related to operating systems, programs, drivers, configuration parameters, and settings.
However, there might be some overlap between the two concepts. An example could be the display malfunction which could be caused by either a broken cable or a damaged graphics chip (hardware) or a display driver or wrong settings (software). Understanding the moment when the issue comes up allows figuring out the right strategy for diagnosis.
For broader software and general computer issues, see our Basic Computer Troubleshooting guide.
How to Troubleshoot a Computer That Won’t Turn On
A computer that does not start can have a simple power problem or a failed internal component. Work from the easiest checks to the more advanced ones.
Step 1: Check the power source
- Confirm that the wall outlet works.
- Check the power cable for visible damage.
- If you use a power strip or surge protector, make sure it is switched on.
- On a desktop, confirm that the PSU rear switch is in the correct position.
- On a laptop, check the charger, charging port, and charging indicator.
Step 2: Disconnect external devices
Eliminate unnecessary devices such as USB drives, external hard drives, printers, USB hubs, controllers, docking stations, and all other accessories. Then, attempt to restart the computer. Sometimes a malfunctioning device interrupts the booting process.
Step 3: Look for signs of power
- There are no lights, fans, or any actions made by the device. Check out the power supply, outlet, or cables.
- If there are lights and fans working, there has to be a problem with the RAM, GPU, or signals sent to the monitor.
- If the computer starts and stops immediately, one could think of problems with power supply or component failures.
Step 4: Check RAM
If you are comfortable working inside a desktop computer:
- Shut down the computer and unplug it.
- Open the case only after disconnecting power.
- Remove and firmly reseat the RAM module.
- If multiple modules are installed, test compatible modules individually to isolate a possible faulty module.
- Use the motherboard or computer manufacturer’s instructions for the correct memory slots.
Step 5: Check POST or diagnostic indicators
Some desktop computers use different methods such as beep codes, debug lights or LED displays that help to identify hardware issues concerning the startup process. Their meanings differ from one maker and motherboard to another, so don’t treat the overall beep code guide as an accurate diagnosis of your specific computer system. Check the manuals for your own hardware.
Step 6: If the computer still will not start
Possible causes can include a failed PSU, motherboard problem, CPU issue, GPU fault, short circuit, or defective power button. If basic checks do not identify the problem, professional diagnosis may be safer than repeatedly swapping components.
How to Troubleshoot a PC That Turns On but Has No Display
If the fans or lights work but the monitor says ‘No Signal’ or remains blank, troubleshoot the display path before assuming the graphics card has failed.
- Make sure the monitor is powered on and its power indicator works.
- Check the HDMI, DisplayPort, or other display cable at both ends.
- Select the correct input source on the monitor.
- Try another compatible display cable.
- Test the monitor with another computer if possible.
- If the computer has both integrated and dedicated graphics, make sure the cable is connected to the intended video output.
- If you are comfortable doing so, reseat the RAM and check the system’s POST or diagnostic indicators.
- For a desktop with a dedicated GPU, check that the card is seated correctly and that any required power connections are attached.
If you are seeing a persistent dark spot rather than a complete no-signal condition, read our Black Dot on Computer Screen guide.
How to Troubleshoot RAM Problems
Problems with RAM installation can lead to difficulties with booting, crashes, system freezes, BSODs, unpredicted restarts, as well as problems when running applications. Nevertheless, these symptoms can stem from other issues too, therefore, testing is helpful in distinguishing memory as the source of the problem.
The main RAM troubleshooting steps include:
- Power down and unplug the computer.
- Reinstall the memory if you feel confident to access the slots.
- Try out compatible modules one by one if there are multiple installed.
- Use a relevant memory test program.
- Consult the motherboard or computer manufacturer’s instructions regarding the compatibility of the installed memory.
- If a module that is known to be working is OK but another one is not, this means that the latter module is most likely faulty.
How to Troubleshoot Computer Overheating
Overheating can cause performance throttling, loud fans, unexpected shutdowns, freezes, or system instability. Temperature limits vary by CPU, GPU, laptop, workload, and manufacturer, so avoid relying on one universal temperature number.
Common causes include:
- Dust buildup in vents, fans, or heatsinks
- Blocked laptop or desktop airflow
- A fan that is slow, noisy, or not spinning correctly
- Poor case airflow
- A cooling problem or thermal-interface issue
- Heavy workloads or sustained high CPU/GPU usage
- High surrounding temperatures
What to do:
- Clean accessible vents and fans according to the manufacturer’s instructions.
- Make sure airflow is not blocked.
- Check whether cooling fans are operating normally.
- Keep laptops on a hard, flat surface instead of a bed, blanket, or other soft surface.
- Monitor CPU and GPU temperatures with an appropriate hardware-monitoring tool and compare readings with the manufacturer’s specifications.
- If temperatures remain abnormal after basic cleaning and airflow checks, consider professional servicing.
How to Troubleshoot SSD and Hard Drive Problems
Failure of any storage device may manifest as a failure of the whole system. If either an HDD or SSD fails, it could be due to slow computer booting, freezing, missing files, failures to detect drives, crashes, or the operating system failing to recognize the boot drive.
In this case, it is wise to check:
- Whether the drive is present in the BIOS/UEFI settings
- In the case of SATA drives, if all cables are plugged in properly
- If the drive can be seen in the OS
- If any warnings were prompted by the drive’s health or diagnostic tool
- If the computer is notably slowing down or freezing
Important: Back up vital information if you have a chance to access your drive. If the HDD produces weird sounds, try to use it less as it might need professional data recovery if the data is crucial.
Why Does My Computer Keep Restarting or Shutting Down?
Random restarts and unexpected shutdowns can be caused by hardware, software, or a combination of both. Common possibilities include:
- Overheating
- Unstable or failing power supply
- RAM problems
- Motherboard problems
- GPU problems
- Driver or operating-system issues
Troubleshoot in this order:
- Check CPU and GPU temperatures.
- Note whether the restart happens during gaming or another heavy workload.
- Disconnect unnecessary peripherals.
- Test RAM using appropriate diagnostics or individual-module testing.
- Check accessible power connections and cables.
- Inspect fans and airflow.
- If the problem continues, use manufacturer diagnostics or seek professional testing.
How to Troubleshoot Keyboard, Mouse, and USB Problems
The same isolation method works for most input-device problems.
- Reconnect the cable or try a different USB port.
- If possible, connect the device directly instead of through a USB hub.
- For wireless devices, replace the batteries and confirm the receiver or Bluetooth connection is active.
- Test the keyboard or mouse on another computer.
- Test a known-working device on your computer.
- If multiple devices fail on one port, the USB port, system configuration, or related hardware may be the problem.
How to Troubleshoot Loud Fan Noise
If you hear your fan turning much louder than normal, it does not necessarily mean that the fan is broken. You should first check if the computer is overheating/in heavy load.
– Check CPU/GPU temperatures.
– Inspect and see if there is duts blocking vents or fans.
– Make sure that the fan is turning properly.
– If you close the applications that are demanding a lot of the CPU/GPU and the noise goes away.
– Lastly, pay attention to any grinding or rattling sounds, which can indicate any malfunction of the mechanical fan.
– If the fan is not spinning correctly, or if you need to replace it, seek help from professionals if you do not feel confident completing the repair process.
Hardware Troubleshooting Tools
Tool | What it helps check |
Hardware monitoring software | CPU/GPU temperatures and available sensor readings |
Memory diagnostic tool | RAM stability and memory errors |
SSD/HDD health utility | Storage health indicators and drive warnings |
PSU tester | Basic desktop power-supply output checks |
Known-good cable | Cable and connection faults |
Spare monitor | Display and signal problems |
Known-good keyboard/mouse | Peripheral and USB problems |
Screwdriver set | Safe access to compatible computer components when manufacturer guidance permits |
Electrical testing equipment should only be used by someone who understands safe electrical-testing procedures. Never open a PSU to diagnose it.
A Systematic Hardware Troubleshooting Process
- Identify the exact symptom — Write down what actually happens. ‘The PC powers on, fans spin, but the monitor says No Signal’ is more useful than ‘My computer is broken.’
- Check simple causes first — Start with power, cables, monitor settings, USB devices, and ventilation before moving to internal components.
- Change only one thing at a time — If you replace the cable, RAM, and GPU simultaneously, you will not know which change fixed the problem.
- Use known-good components — A working cable, monitor, keyboard, mouse, or compatible component can quickly eliminate one possible cause.
- Confirm the repair — After making a change, test the computer under normal conditions and, when appropriate, under the workload that originally caused the problem.
- Document what you found — Record the symptoms, tests performed, failed component if confirmed, and the final solution. This makes future troubleshooting easier.
Common Computer Hardware Problems and Possible Causes
Problem | Possible causes |
PC won’t turn on | Power source, PSU, motherboard, power button, internal component |
PC turns on but no display | RAM, GPU, display cable, monitor, POST/startup issue |
Computer overheating | Dust, fan, airflow, cooling or thermal-interface problem |
Random restarts | Heat, PSU, RAM, motherboard, GPU, drivers/software |
Computer running slowly | Storage, RAM, overheating, background software or operating-system issue |
Keyboard not working | USB port, cable, battery, Bluetooth, device fault |
Mouse not working | USB/Bluetooth connection, battery, device fault |
Drive not detected | Cable, drive failure, BIOS/UEFI configuration, connection problem |
Loud fan | High workload, high temperature, dust, airflow, worn or failing fan |
USB device not recognized | Port, cable, hub, driver/system issue, device fault |
Why Regular Hardware Maintenance Matters
Hardware problems can arise slowly over time. Some of the problems can probably be avoided if they are all avoided.
- Dust cleaning according to manufacturers’ instructions.
- Laptops and computers must be used on a flat and solid surface to ensure unobstructed ventilation.
- Power cords must be handled with care.
- Back up data from hard drives regularly as there can be problems with them, too.
- Avoid extreme temperature, humidity, or several other conditions that could damage computers.
- Don’t ignore abnormal sounds from fans, constant crashes, burning smell, and other new signs.
When Should You Stop DIY Troubleshooting?
Some hardware problems should not be handled as a DIY repair. Stop troubleshooting and seek professional help if you notice:
- Burning smell or smoke
- Sparks or visible electrical damage
- Scorch marks or melted connectors
- Liquid damage
- A swollen battery
- A damaged power cable or connector
- Persistent overheating after basic maintenance
- A suspected PSU failure that you cannot safely test
- A component that requires advanced repair or board-level work
Never do this: Do not open a power supply unit. Capacitors inside a PSU can retain dangerous electrical energy even when the unit is unplugged.
Frequently Asked Questions
What is hardware troubleshooting?
Hardware troubleshooting is the process of identifying, testing, and resolving problems involving physical computer components such as RAM, storage, power supplies, monitors, GPUs, and cables.
What are the most common computer hardware problems?
Common problems include no power, no display, overheating, RAM failures, storage problems, random restarts, fan problems, and keyboard, mouse, or USB issues.
How do I troubleshoot a computer that won’t turn on?
Start by checking the outlet, power cable, charger or PSU, and power indicators. Disconnect unnecessary peripherals, then investigate RAM and other components if you are comfortable working on the computer.
Why does my PC turn on but show no display?
Possible causes include RAM, GPU, monitor, display cable, incorrect input selection, or a startup/POST problem.
How do I know if my RAM is faulty?
Common signs include boot failures, random crashes, freezing, blue-screen errors, and unexpected restarts. Use an appropriate memory diagnostic or test compatible modules individually to help isolate the problem.
How do I troubleshoot an overheating computer?
Check temperatures, clean accessible vents, make sure fans are working, and ensure the computer has adequate airflow. If temperatures remain abnormal, professional servicing may be needed.
Why does my computer keep restarting?
Possible causes include overheating, unstable power, RAM problems, PSU failure, motherboard issues, GPU problems, or software and driver issues.
How do I know if my SSD or hard drive is failing?
Warning signs include very slow performance, missing files, drive-detection errors, repeated crashes, and unusual mechanical noises from an HDD. Back up important data as soon as possible.
Can hardware problems make a computer slow?
Yes. Storage problems, insufficient or faulty memory, overheating, and failing components can cause noticeable slowdowns. Software and operating-system issues can produce similar symptoms.
When should I call a computer technician?
Get professional help when there is electrical or liquid damage, a suspected PSU problem, persistent overheating, a swollen battery, or a component that requires repair or replacement beyond your experience.
Final Thoughts
Effective hardware troubleshooting is less about guessing and more about isolating the problem. Start with simple external checks, identify the exact symptom, test one possible cause at a time, and use known-good components whenever possible.
Whether you are dealing with a computer that will not turn on, a no-signal monitor, overheating, RAM errors, storage problems, random restarts, or a faulty keyboard or mouse, a structured troubleshooting process can help you identify the likely cause without unnecessarily replacing working hardware.
When a problem involves electrical damage, liquid damage, a swollen battery, a PSU, or a repair you cannot safely perform, stop and seek professional assistanc